Automate repetitive tasks. Free up your valuable time to work on things that interest you.

How many times do you perform boring and repeated tasks throughout your day and week? How much time do you spend sending the same (or similar) emails? Moving files? Forwarding emails? Saving email attachments? Copying information from one place to another? Updating spreadsheets?

Did you know that you can automate many of the tasks identified above and free up hours each week to spend on more meaningful activities? And did you know that anyone with a Microsoft office license can automate much of this for free?
There are two versions of Power Automate for you to try out: the web version and the desktop version.
Web/cloud version: runs online, not on your computer, and it can easily trigger an action based on a date/time, the storing of a file in a specific folder, an email that you receive, or the click of a button.
Desktop version (a.k.a. Power Automate Desktop, or “PAD”): can only be installed on workstations running Microsoft Windows, but this more powerful (than the web) version allows a greater deal of functionality including simulating mouse points and keyboard clicks.
In this blog, we will identify two common use cases for task automation and demonstrate how you can set up your first few automations using Microsoft Power Automate all on your own.
Let me first preface this by stating that I am not a Microsoft affiliate or partner. My business uses Microsoft products because our clients use Microsoft products. I am not a Microsoft reseller, and I do not make any money if you decide to use Microsoft.
So when would you want to use Power Automate to automate your processes? Well, if you’re repeating a task several times per day or even several times per week, with little variation, it’s likely a good candidate for automation. And, for Power Automate, if it has to do with Microsoft Outlook for Business emails or moving/saving files in OneDrive, or updating Excel spreadsheets, even better!

Here are a couple of scenarios that you may find useful for automating in your day-to-day business life:
Scenario #1 using Power Automate Cloud
Send an email with attachment when a new file is save to a specific folder.
In this scenario, you may be keeping track of your timesheet and need to submit it via email on a monthly basis. Let’s say you keep track of your hours of work in an excel spreadsheet. Once you have filled out your hours for the month you need to submit it to supervisor. So we are going to automate it so that once you save the file into a specific folder it will automatically pick the file up and email it to your supervisor.

For this example, we will assume your timesheet is named “July 2023 Timesheet.xlsx”, you are saving it to a folder named “2023 timesheets”, and you are emailing it to supervisor@test.com.
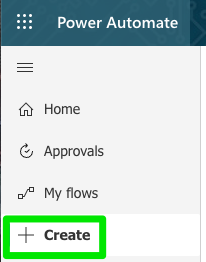
Here are the steps to follow once you have logged in to Power Automate via office.com:
- Click [Create]

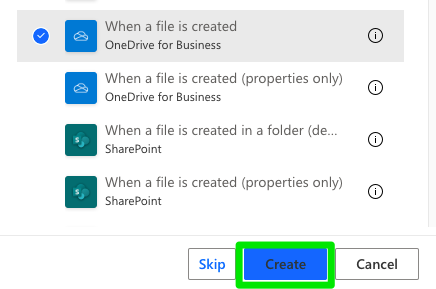
- Under “Search select a trigger”, type “create file” and select [When a file is created (OneDrive for Business)].
- Click [+ New step].
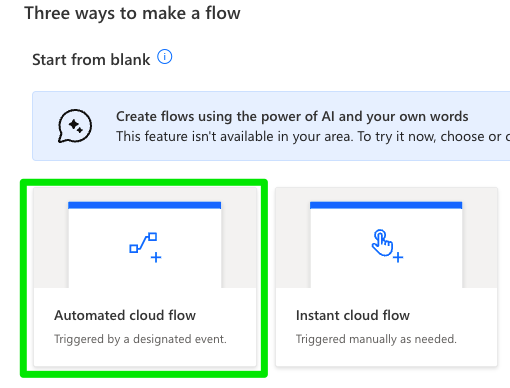
- Click [Automated cloud flow].
- For the “Flow name”, type “Email Monthly Timesheet.”
- Click [Create].
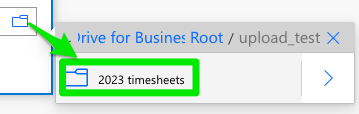
- For the folder, locate your “2023 timesheets” folder and select it.
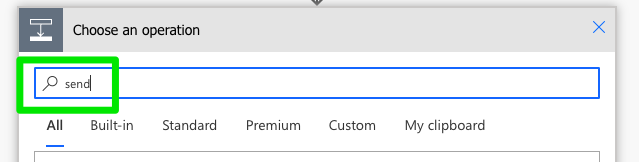
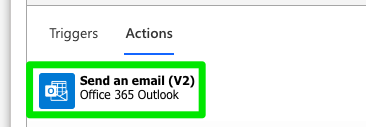
- Type “send” in the search box.
- Select [Send an email V2 (Office 365 Outlook)].
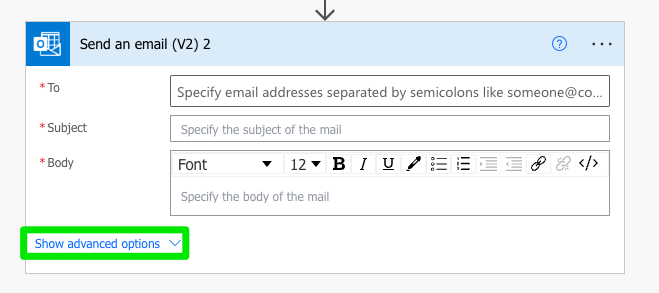
- Click [Show advanced options] to display extra settings.
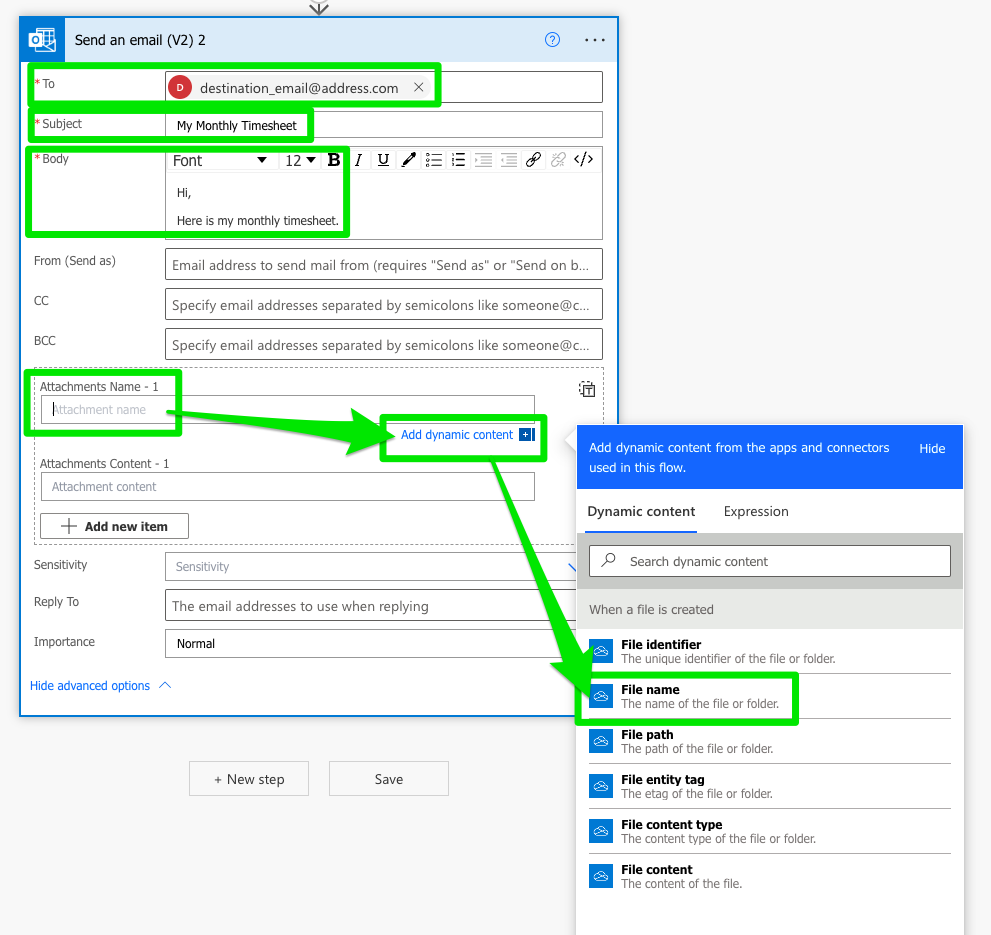
- Fill in the the following fields:
- To
- Subject
- Body
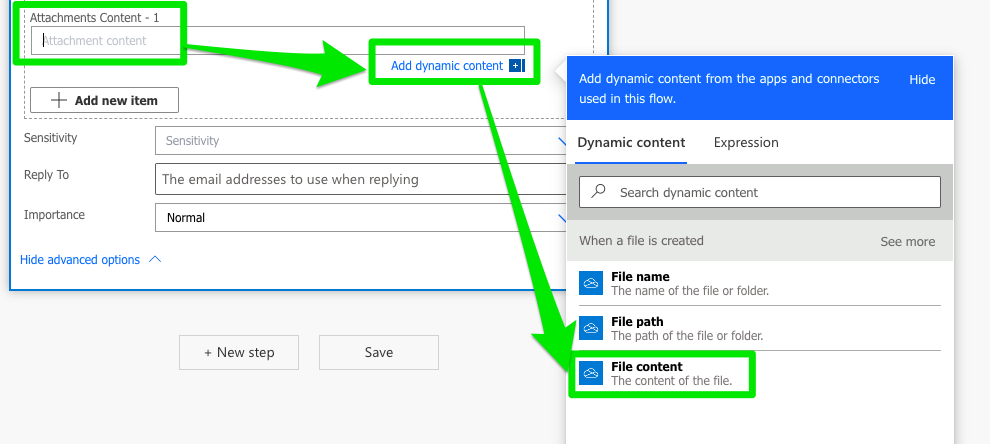
- Attachments Name – 1
- Attachments Content – 1
- Click [Save].
- It is recommended to test your automation. by clicking [Test], choosing [Manually] and then dropping a file into the designated folder (2023 timesheet).


You have now set up your first power automate cloud automation, congratulations!

Scenario #2 using Power Automate Desktop
Access a web page and fill out a form.
In this scenario, we will open a web page using Google Chrome and fill out a form. For this example, we will go to the ProcessPrimer.com website and fill out the form on the contact page.
You first need to install the Power Automate Desktop (PAD) app on your computer and open it. Once you do that it will prompt you to enter an email address with a valid Microsoft 365 license. Once the app is open, follow these steps:
- Click [New flow].
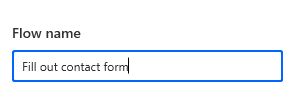
- Type in a flow name, for this example we are using “fill out contact for”.
- Click [Create].
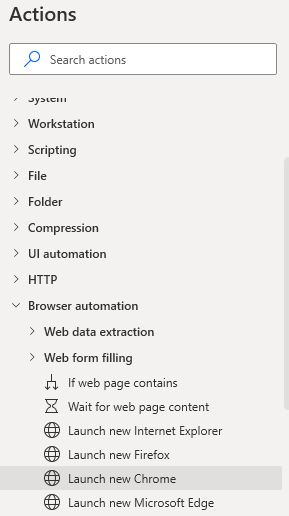
- Under the action pane, double-click [Launch new chrome under browser automation]. Note: You may need to install the Power Automate extension Google Chrome.
- Fill out the starting url as www.processprimer.com/contact.
- Click [Save].
- Open your Chrome web browser and go to the www.processprimer.com/contact website.
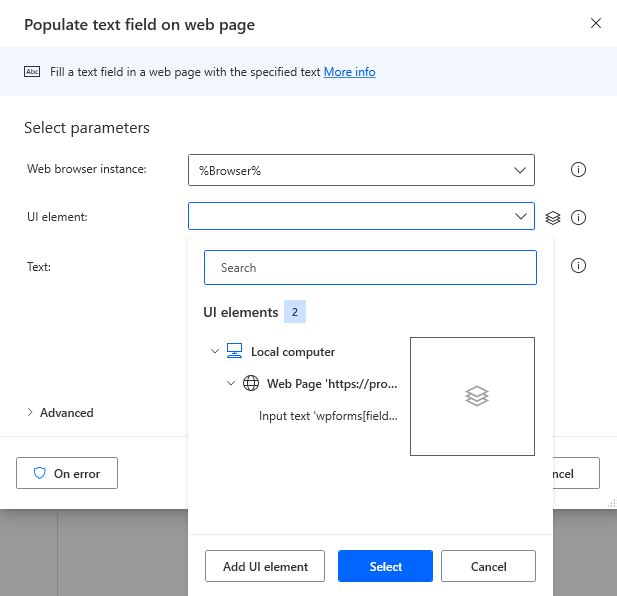
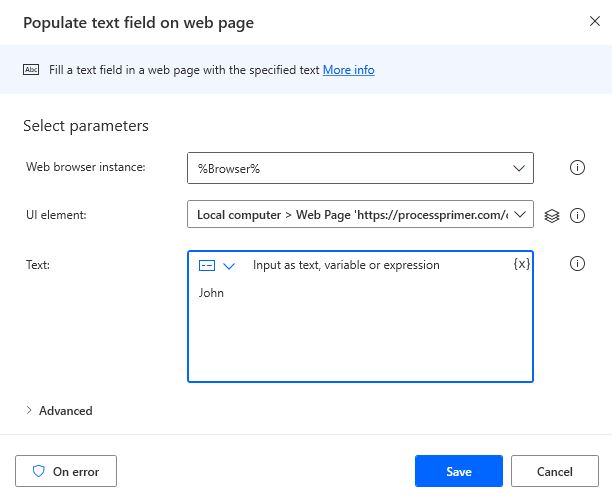
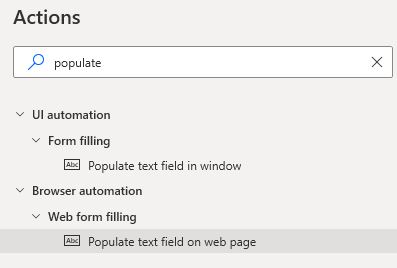
- Back in Power Automate desktop double click [Populate text field in web page].
- Click the dropdown arrow beside “UI element” and then click [Add UI element].
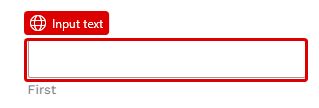
- Go back to the Chrome browser and under the “Name (First)” field point your cursor there and it will highlight in red. Simultaneously press the [CTRL] on your keyboard while clicking with your left mouse button. This will create the UI element that you will be automatically filling out.
- Type a first name into the “Text” field and click [Save].
- We will leave the “Name (Last)” field blank.
- Double click [Populate text field in web page] again.
- Click the dropdown arrow beside “UI element” and then click [Add UI element] again.
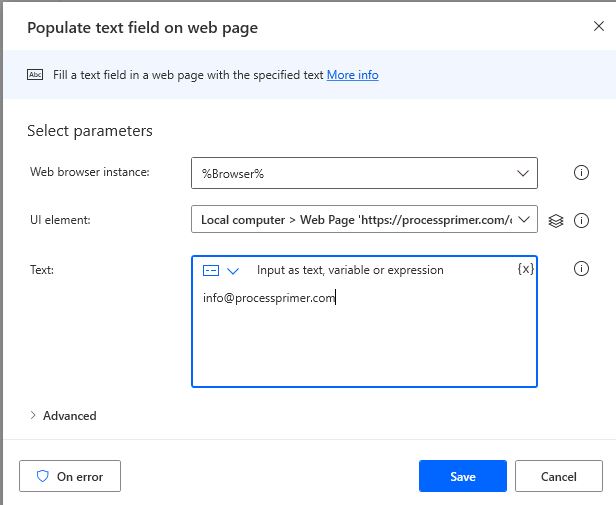
- Go back to the Chrome browser and under the “Email” field point your cursor there and it will highlight in red. Simultaneously press the [CTRL] on your keyboard while clicking with your left mouse button.
- Type an email address into the “Text” field and click [Save].
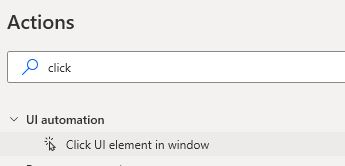
- Under the action pane, search for and then double-click [Click UI element in window].
- Click the dropdown arrow beside “UI element” and then click [Add UI element] again.
- Go back to the Chrome browser and under the “Basic Documentation Services” checkbox field, point your cursor there and it will highlight in red. Simultaneously press the [CTRL] on your keyboard while clicking with your left mouse button.
- Click [Save].
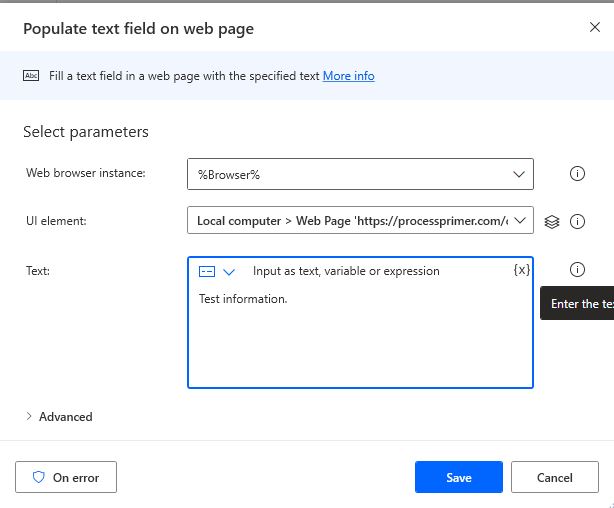
- Double click [Populate text field in web page] again.
- Click the dropdown arrow beside “UI element” and then click [Add UI element] again.|
- Go back to the Chrome browser and under the “How may we help?” text field, point your cursor there and it will highlight in red. Simultaneously press the [CTRL] on your keyboard while clicking with your left mouse button.
- Type some information into the “Text” field and click [Save].
- Under the action pane, search for and then double-click [Click UI element in window].
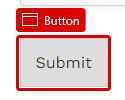
- Click the dropdown arrow beside “UI element” and then click [Add UI element] again.
- Go back to the Chrome browser and on the “Submit” button field, point your cursor there and it will highlight in red. Simultaneously press the [CTRL] on your keyboard while clicking with your left mouse button.
- Click [Save].
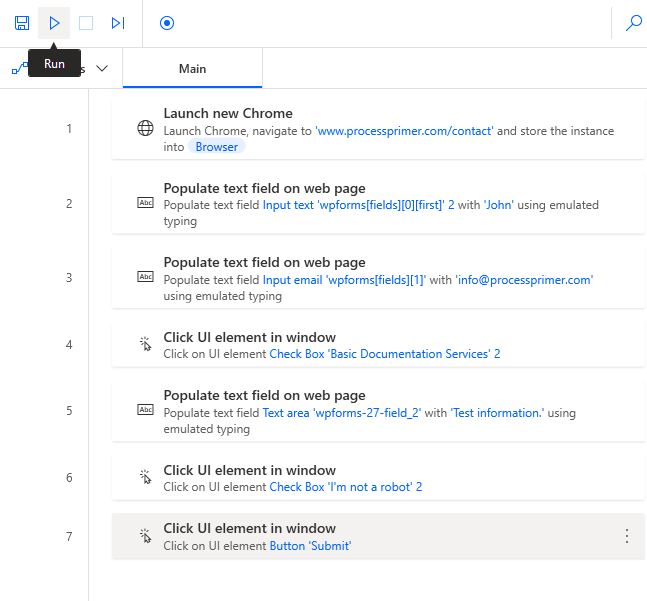
- Your automation is complete! Click [Run] to test it out!


At the time of publishing this post, I may have turned on the “I am not a robot” captcha option, so my contact form no longer accepts automated robots like Power Automate filling out my contact form, but you can use this same concept on other web page forms that you need to fill out on a regular basis. 🙂

Once you begin creating an automation or two, you may find more and more candidates for automation and, if you want to elevate your automation game, you can even get into scripting for added automated functionality!
Have fun automating!
P.S. always remember to test your automations to ensure they are working properly before you allow it to run fully on its own.
Comprehend. Reimagine. Outperform.
2 Comments